Visual Studio Code Setup
Setting Up Visual Studio Code for Python Development: A Comprehensive Guide
Visual Studio Code (VS Code) has emerged as a powerful and versatile code editor, and its seamless integration with Python makes it a favorite among developers. Setting up Visual Studio Code for Python development is a straightforward process that opens the door to a world of efficient coding, debugging, and collaboration. In this comprehensive guide, we’ll walk through the steps to set up VS Code for Python development, covering installations, configurations, and essential extensions.
Installing Visual Studio Code
Before diving into Python-specific configurations, ensure that Visual Studio Code is installed on your machine. You can download the latest version from the official Visual Studio Code website.
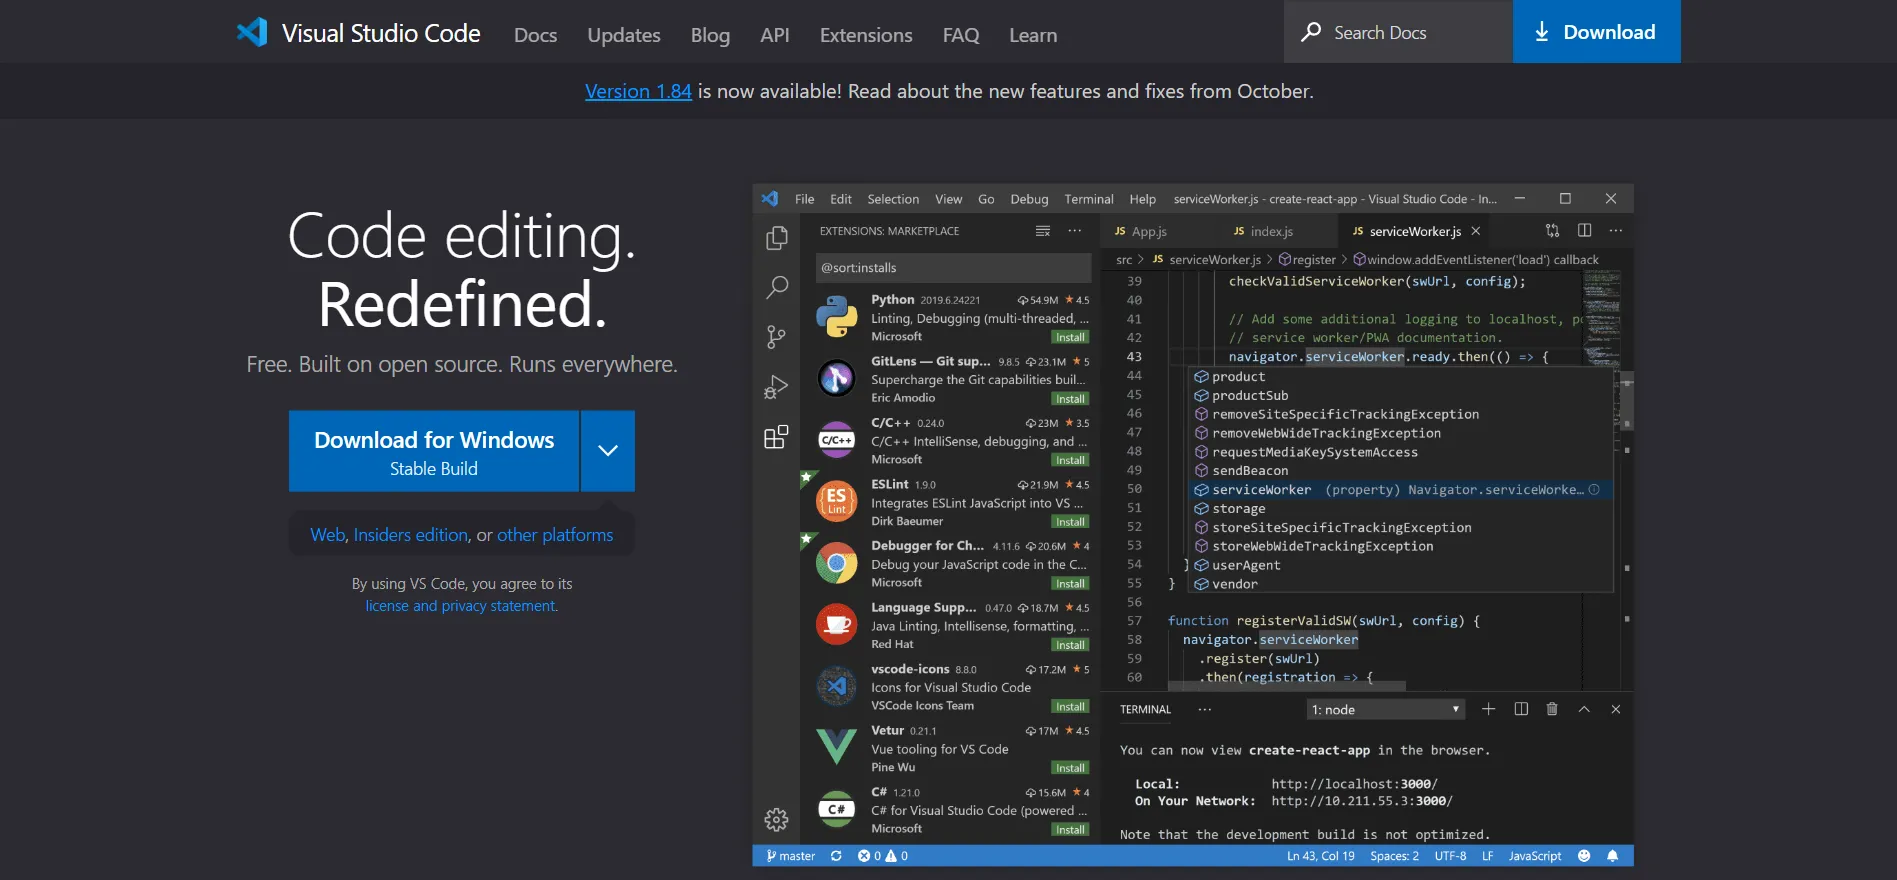
Once the download is complete, follow the installation instructions for your operating system.
Installing Python
To develop Python applications in Visual Studio Code, you need to have Python installed on your system. You can download the latest version of Python from the official Python website. During the installation, make sure to check the box that says “Add Python to PATH” to simplify the setup process.
After the installation, you can verify the Python installation by opening a terminal or command prompt and running:
python --versionpython --versionThis should display the installed Python version.
Installing the Python Extension for Visual Studio Code
The Python extension for Visual Studio Code is a crucial component for a smooth Python development experience. It provides features like IntelliSense, linting, debugging, and more. To install the Python extension, follow these steps:
-
Open Visual Studio Code.
-
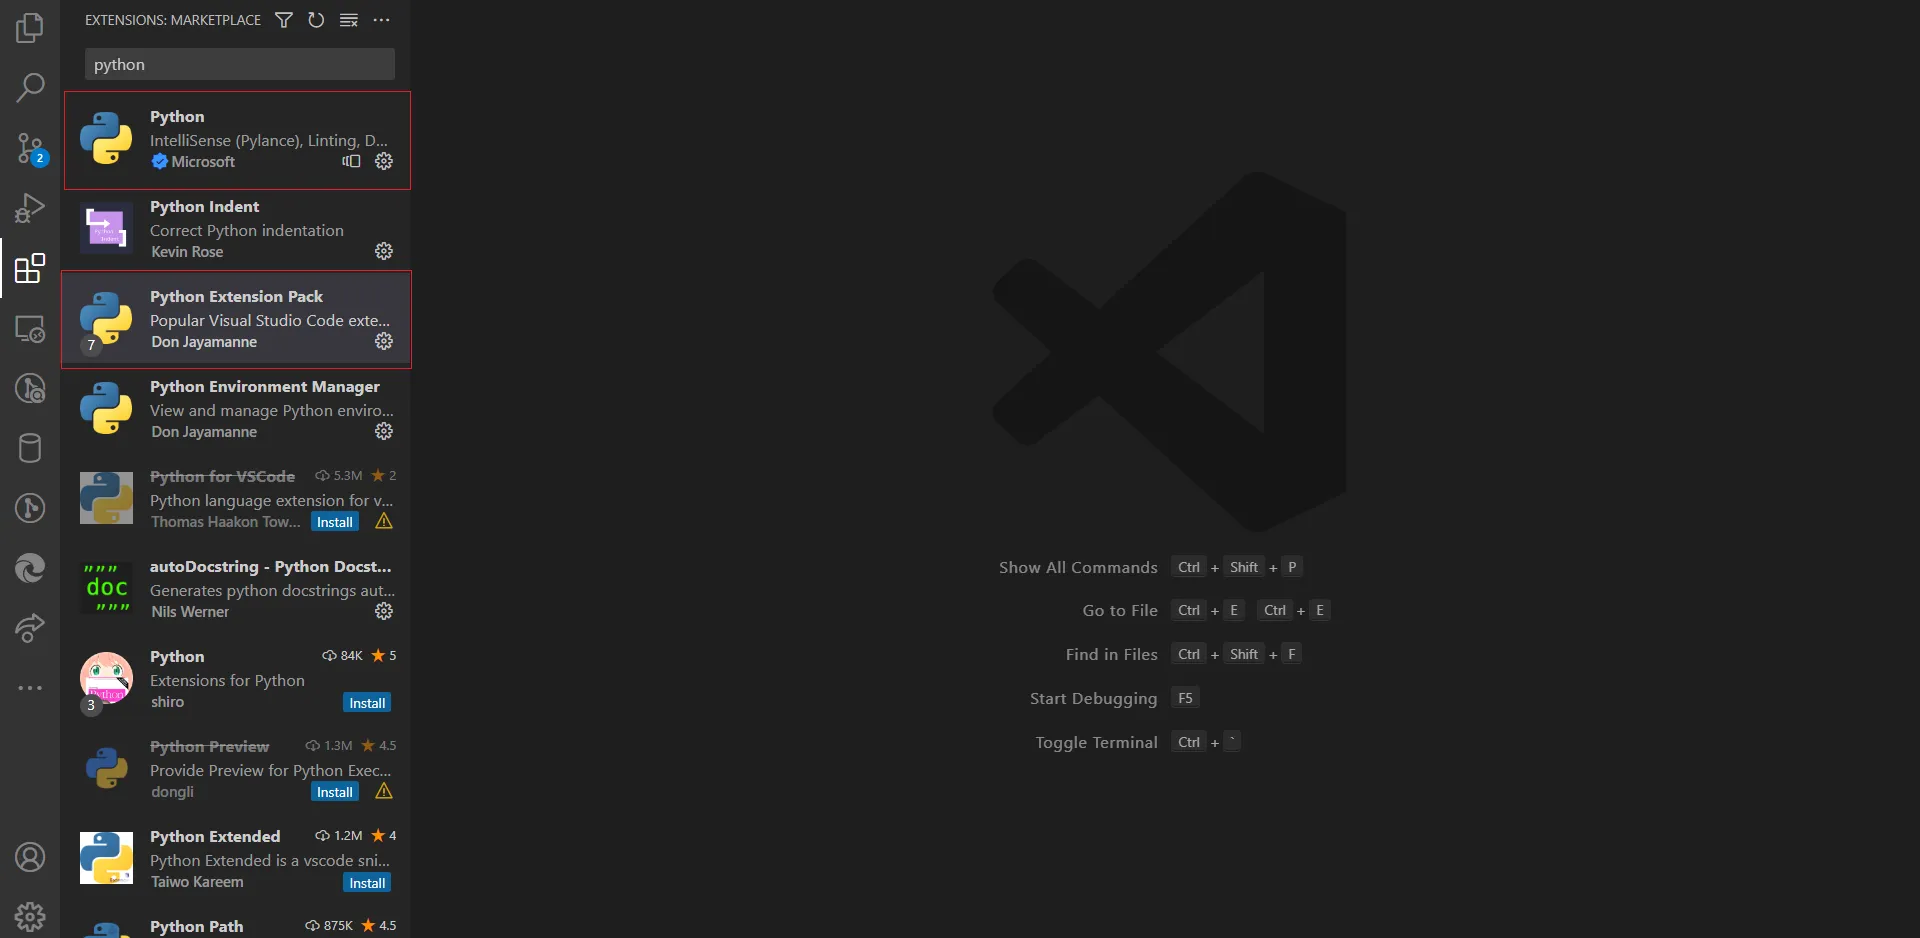
Navigate to the Extensions view by clicking on the Extensions icon in the Activity Bar on the side of the window or using the shortcut
Ctrl+Shift+XCtrl+Shift+X. -
Search for “Python” in the Extensions view search box.
-
Select the “Python” extension provided by Microsoft and click the “Install” button.
- You need to install another extension called “Code Runner” to run Python code directly from VS Code. Search for “Code Runner” in the Extensions view and install it.
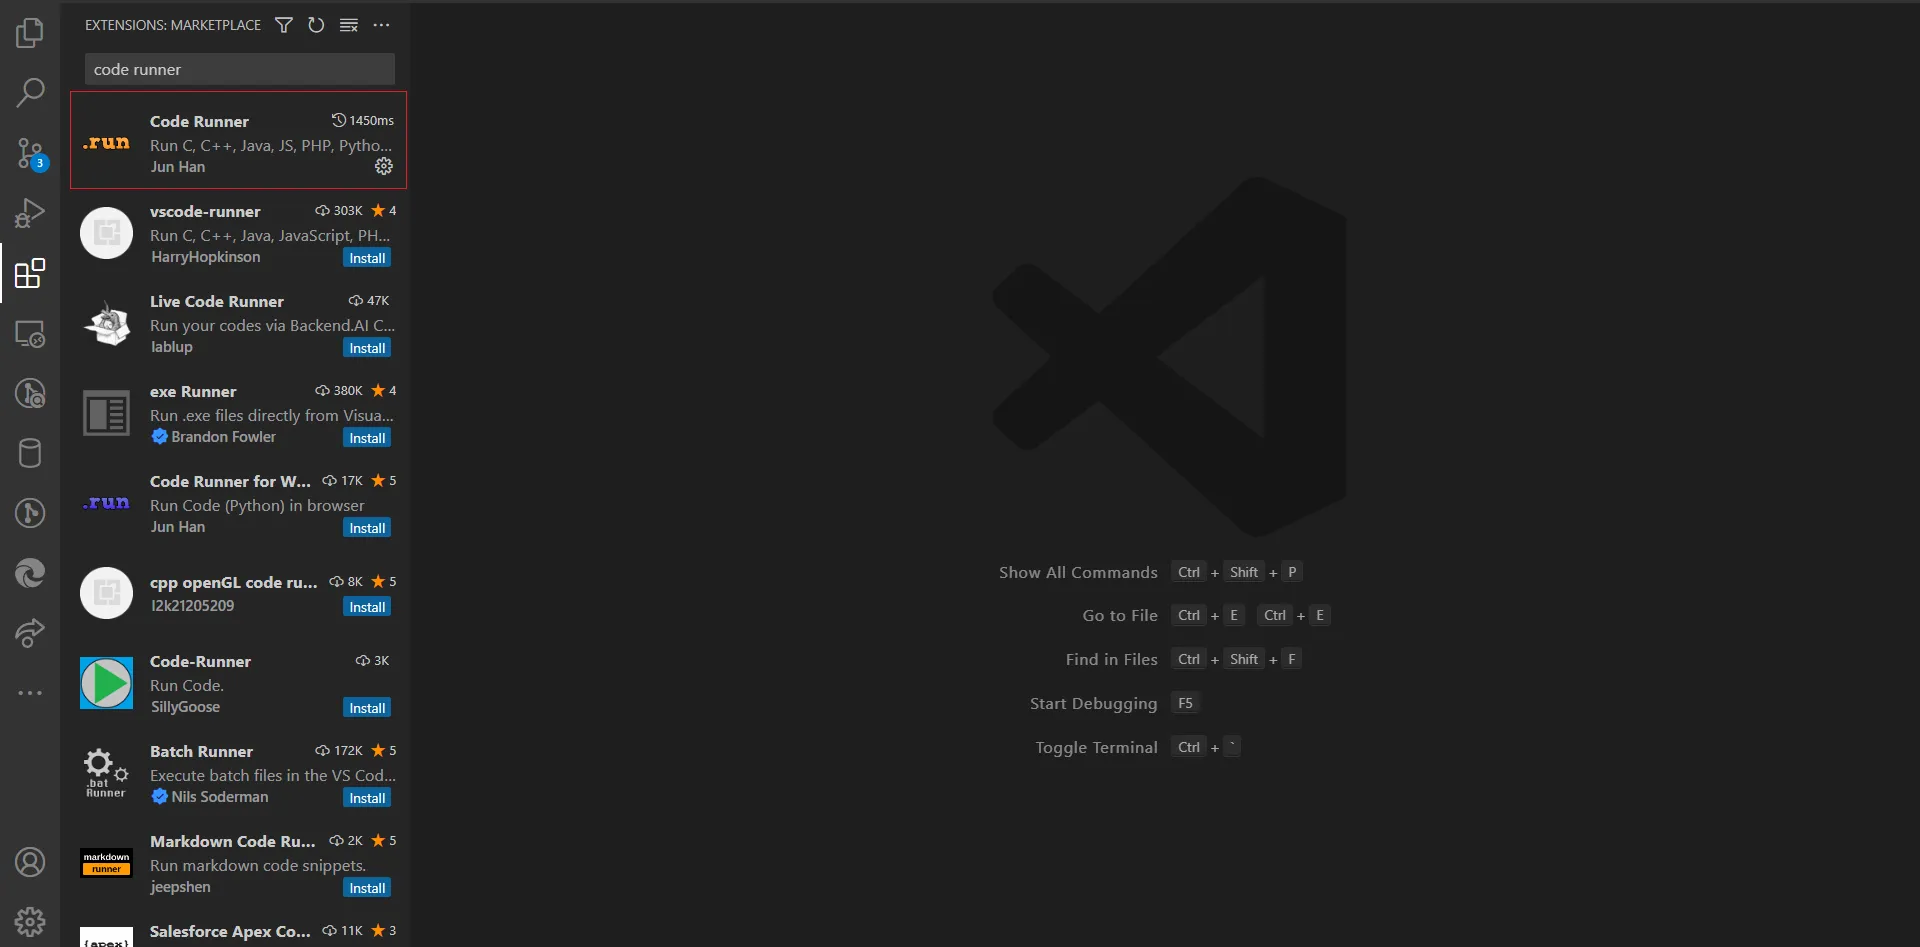
- After installation, you might need to reload VS Code to activate the extension.
Selecting the Python Interpreter
With the Python extension installed, you need to specify the Python interpreter that VS Code should use for your projects. Follow these steps to set the Python interpreter:
-
Open a Python file or create a new one.
-
Look in the lower right corner of the window, where you’ll see “Select Python Interpreter.” Click on it

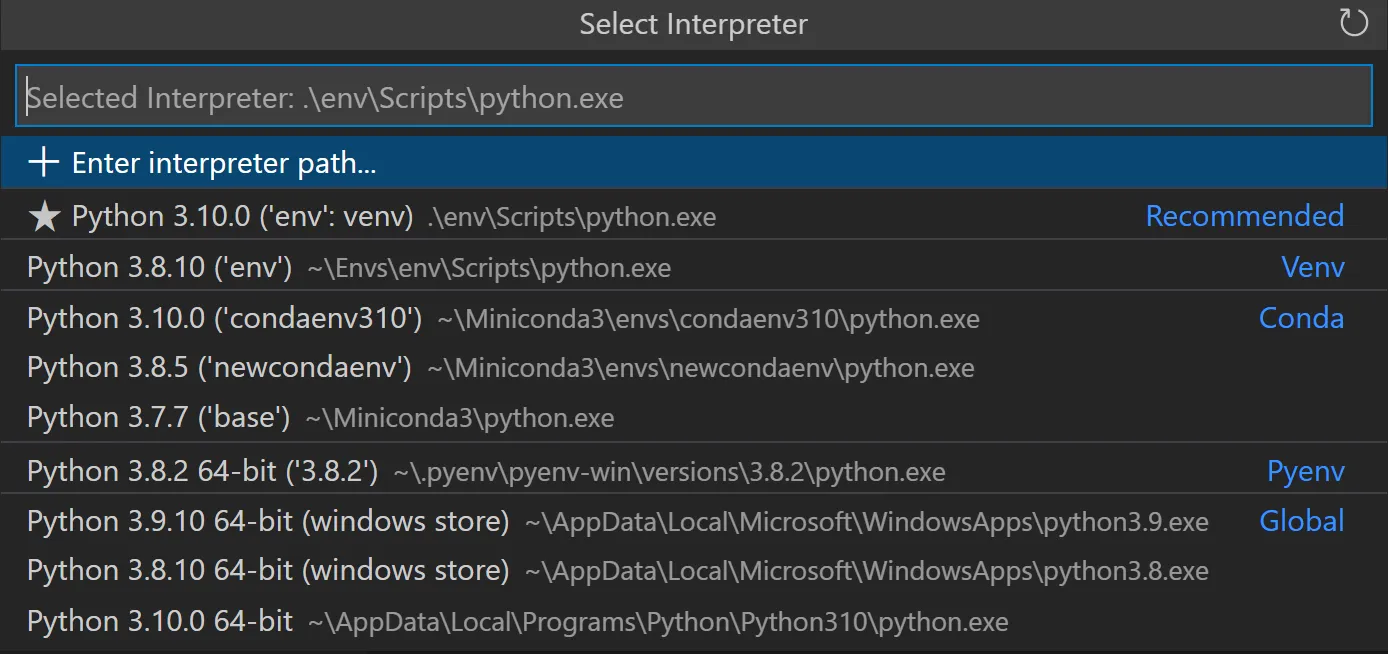
or use the shortcut Ctrl+Shift+PCtrl+Shift+P and search for “Python: Select Interpreter.”
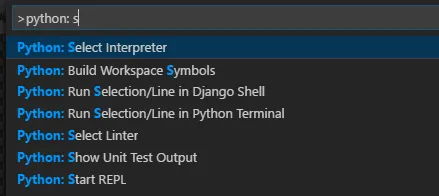

- Choose the Python interpreter you installed earlier. If it doesn’t appear, click on “Enter interpreter path” and manually locate the Python executable.
Setting the interpreter ensures that VS Code uses the correct Python environment for your projects.
Creating a Virtual Environment (Optional)
While not mandatory, creating a virtual environment for each Python project is a good practice. Virtual environments isolate project dependencies, preventing conflicts between different projects. To create a virtual environment:
-
Open a terminal in VS Code (`Ctrl+“).
-
Navigate to the root folder of your project.
-
Run the following commands:
# On Windows
python -m venv venv

# On macOS/Linux
python3 -m venv venv# On Windows
python -m venv venv
# On macOS/Linux
python3 -m venv venv- Activate the virtual environment:
# On Windows
venv\Scripts\activate

# On macOS/Linux
source venv/bin/activate# On Windows
venv\Scripts\activate
# On macOS/Linux
source venv/bin/activateNow, when the virtual environment is activated, any Python-related commands in the terminal will use the environment-specific Python interpreter and libraries.
Configuring the Integrated Terminal
The integrated terminal in Visual Studio Code is a powerful tool for running commands and scripts. You can configure it to use your virtual environment by default:
-
Open your project or create a new Python file.
-
Open the integrated terminal (
CtrlCtrl+ ` ). -
In the terminal, click on the “Select Default Profile” dropdown and choose “Python 3.x.x 64-bit (‘venv’: venv)” or a similar option that corresponds to your virtual environment.
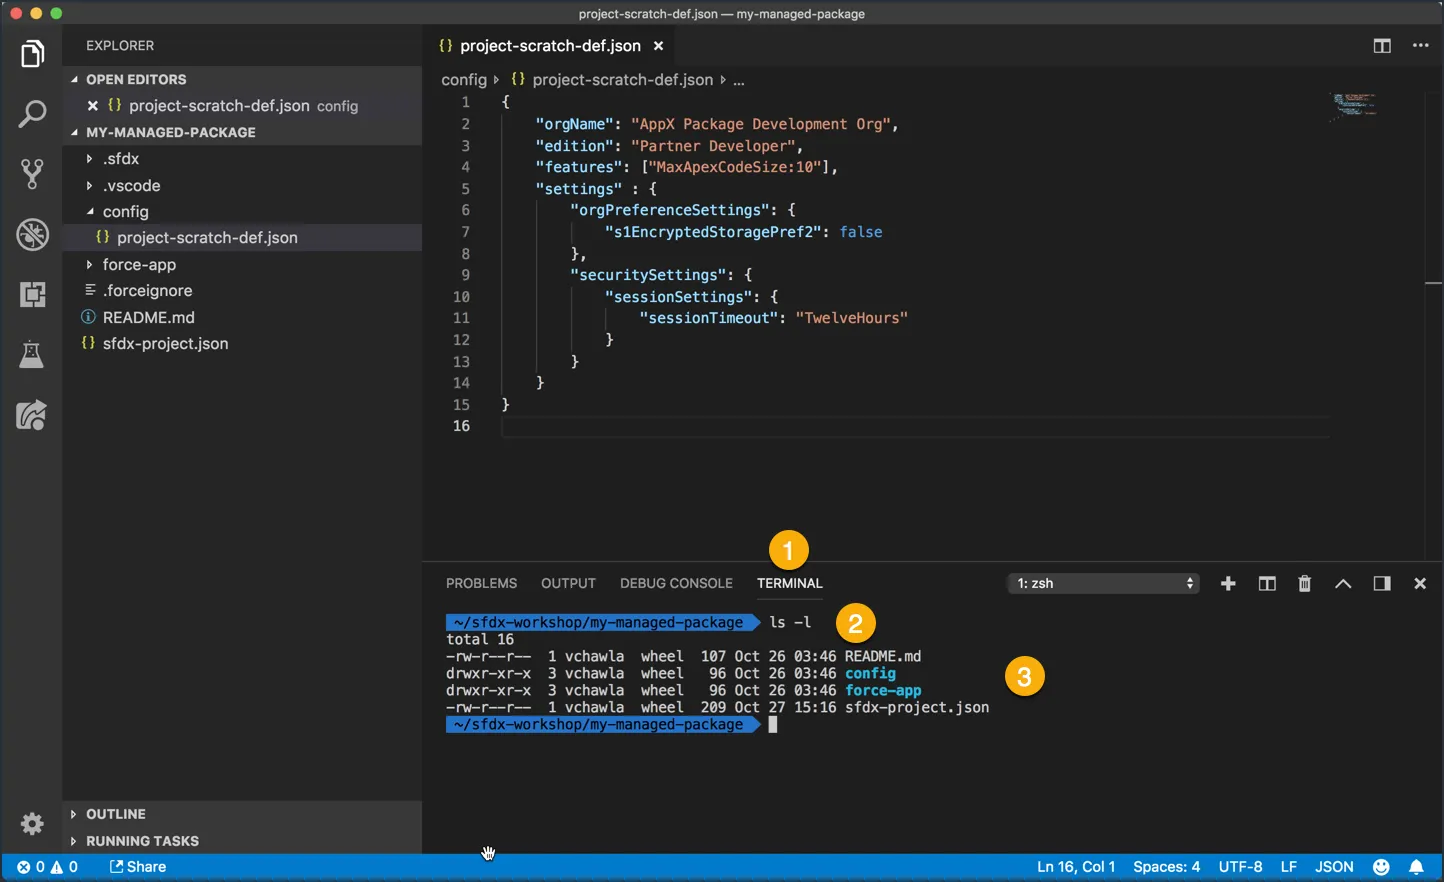
This ensures that any Python-related commands executed in the terminal are run within the virtual environment.
Debugging Python Code
Visual Studio Code provides a powerful debugger for Python code. To set up debugging, follow these steps:
-
Open a Python file in VS Code.
-
Add breakpoints to your code by clicking in the gutter next to the line numbers.
-
Press
F5F5or go to the Run and Debug sidebar, click on the green arrow, and select “Python File.” -
The debugger will start, and you can use the debug toolbar to step through your code, inspect variables, and more.
Other Useful VS Code Extensions for Python Development
Enhance your Python development experience by exploring and installing additional extensions. Some popular ones include:
-
Pylance: A fast and feature-rich language support extension for Python, developed by Microsoft.
-
Python Test Explorer for Visual Studio Code: Provides a test explorer for discovering and running Python tests.
-
Django for Visual Studio Code: Offers enhanced support for Django projects, including template syntax highlighting and code snippets.
-
Jupyter: Allows you to work with Jupyter Notebooks directly within VS Code.
-
Code Spell Checker: Helps catch spelling mistakes in your code and comments.
Conclusion
Configuring Visual Studio Code for Python development sets the stage for a productive and enjoyable coding experience. With the right extensions, an efficient terminal setup, and a virtual environment, you’ll be equipped to tackle Python projects of any scale. Explore the features VS Code has to offer, and tailor your development environment to suit your preferences. Happy coding!
Was this page helpful?
Let us know how we did
